Adjust - Blur -
Gaussian Blur -
Radius
25
Effects - Image
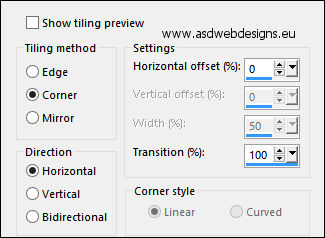
Effects - Seamless
Tiling
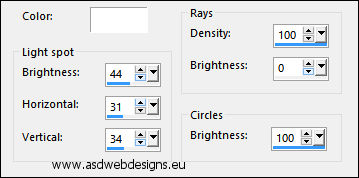
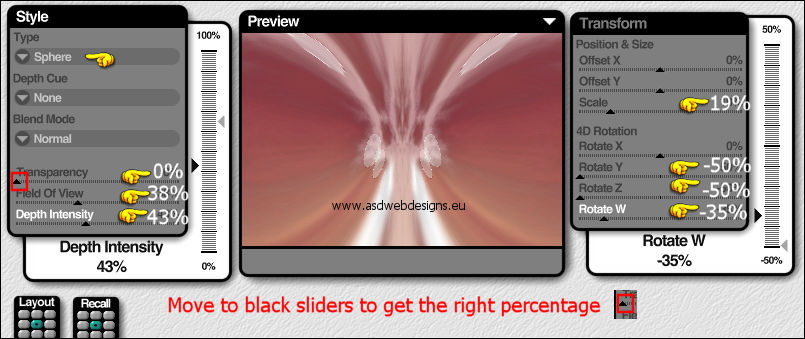
Effects - Illuminations Effects -
Sunburst
Edit - Repeat
Sunburst
Again: Edit - Repeat
Sunburst
02
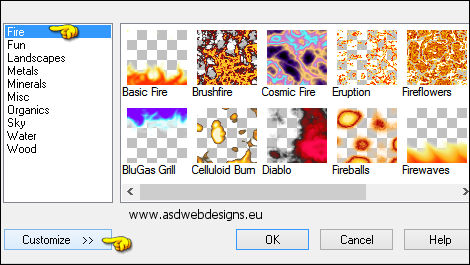
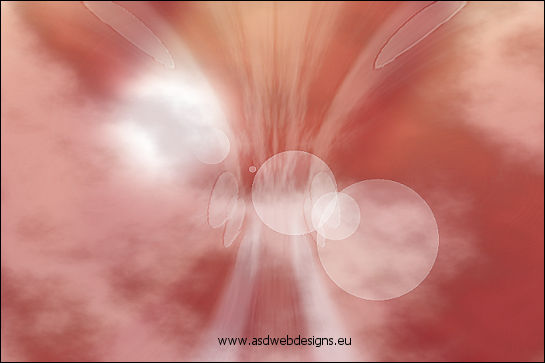
Effects - Plugins -
XE Xtras - Elemental
- Fire
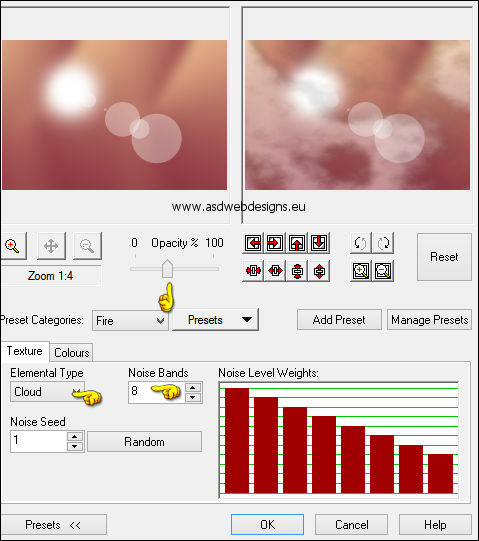
Click on Customize
Move the Opacity
Slider to the Left:
Effects - Edge
Effects - Enhance
03
Layers - Duplicate
Effects - Plugins -
KPT effects - KPT Hyper Tiling
Effects - User Defined Filter -
Emboss_3

Layer
Palette - Set the Blend Mode of this Layer to
"Soft Light"
Result:
04
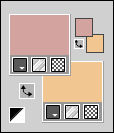
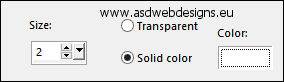
Color Palette: Set
the Foreground
Gradient back to
color
Layers - New Raster
Layer
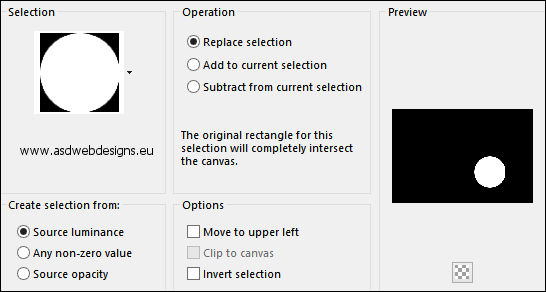
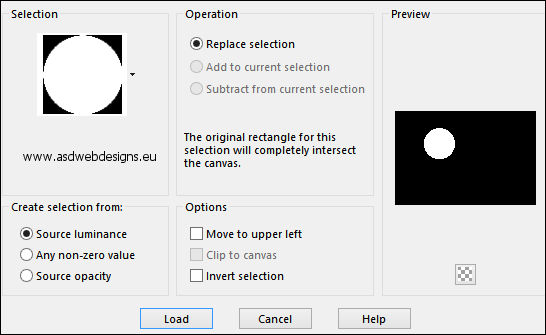
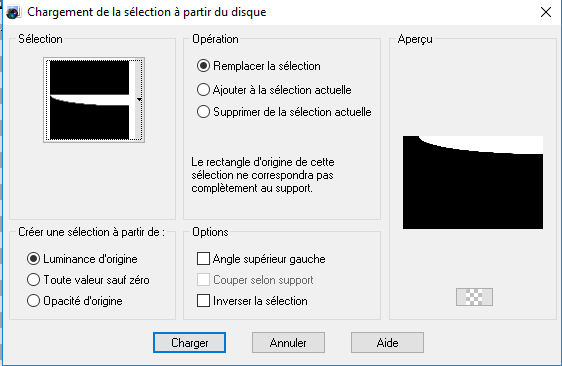
Selections - Load/Save Selection -
Load Selection From Disk
-
nicole-328
 Paint Brush Tool
- "missedyn-brush2" -
Size: 180
-
Step:
32 - Density: 100 -
Rotation: 0 -
Opacity: 100 - Blend
Mode: Normal -
Continuous checked -
Wet look paint Unchecked
Paint Brush Tool
- "missedyn-brush2" -
Size: 180
-
Step:
32 - Density: 100 -
Rotation: 0 -
Opacity: 100 - Blend
Mode: Normal -
Continuous checked -
Wet look paint Unchecked
Stamp with the
Foregroundcolor
 in the Selection
like this:
in the Selection
like this:

Effects - Plugins -
Alien Skin Eye Candy
5 Impact - Glass
- Basic
Tab:

Selections
- Select None
05
Layers - New Raster
Layer
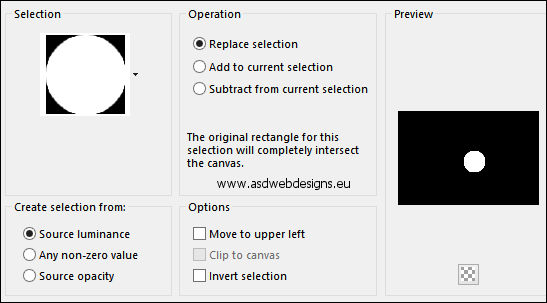
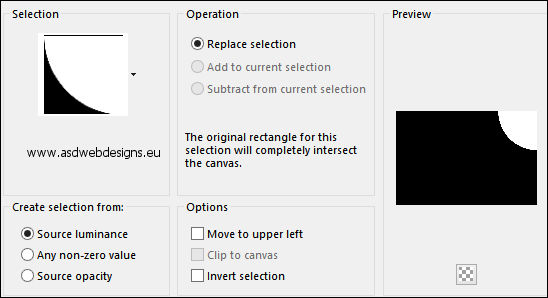
Selections - Load/Save Selection -
Load Selection From Disk
-
nicole-328_B
Paint Brush Tool
- "missedyn-brush1" -
Size: 144
-
Step:
32 - Density: 100 -
Rotation: 0 -
Opacity: 100 - Blend
Mode: Normal -
Continuous checked -
Wet look paint Unchecked
Stamp with the
Foregroundcolor
in the Selection
like this:

Effects - Plugins -
Alien Skin Eye Candy
5 Impact - Glass
- Basic
Tab - Same settings
as step 04
Selections - Select None
06
Layers
- New Raster Layer
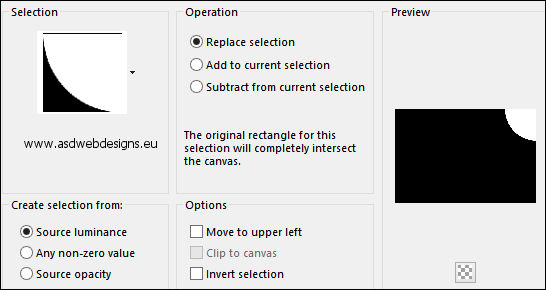
Selections - Load/Save Selection -
Load Selection From Disk
-
nicole-328_C

Paint Brush Tool
- "missedyn-brush4" -
Size: 64
-
Step:
32 - Density: 100 -
Rotation: 0 -
Opacity: 100 - Blend
Mode: Normal -
Continuous checked -
Wet look paint Unchecked
Stamp with the
Foregroundcolor
in the Selection
like this:

Effects - Plugins -
Alien Skin Eye Candy
5 Impact - Glass
- Basic
Tab - Same settings
as before
Selections - Select None
07
Layers
- New Raster Layer
Selections - Load/Save Selection -
Load Selection From Disk
-
nicole-329
Paint Brush Tool
- "missedyn-brush3" -
Size: 190
-
Step:
32 - Density: 100 -
Rotation: 0 -
Opacity: 100 - Blend
Mode: Normal -
Continuous checked -
Wet look paint Unchecked
Stamp with the
Backgroundcolor
 (Right Mouse Click)
in the Selection like this:
(Right Mouse Click)
in the Selection like this:

Effects - Plugins -
Alien Skin Eye Candy
5 Impact - Glass
- Basic
Tab - Same settings
as before
Selections - Select None
08
Layers - New Raster
Layer
Selections - Load/Save Selection -
Load Selection From Disk
-
nicole-331
Flood Fill Tool
 - Set the Opacity to 50

Fill the Selection
with the
Foregroundcolor
09
Color Palette:
Change the
Foregroundcolor to
#D3A39F 
On the same Layer:
Selections - Load/Save Selection -
Load Selection From Disk
-
nicole-330
Fill the Selection
with the
Foregroundcolor
10
Still On the same
Layer
Selections - Load/Save Selection -
Load Selection From Disk
-
nicole-332
Fill the Selection
with the
Backgroundcolor
Selections - Select
None
Set
the Opacity of the Flood Fill Tool back to 100
11
Layers - Duplicate
Image - Mirror -
Mirror Horizontal
Image
- Mirror - Mirror
Vertical
Layers - Merge -
Merge Down
Effects - Image Effects - Seamless Tiling
Effects - User Defined Filter -
Emboss_3
Layer
Palette - Set the Blend Mode of this Layer to
"Multiply"
(Depending on the colors)
12
Layers - New Raster
Layer
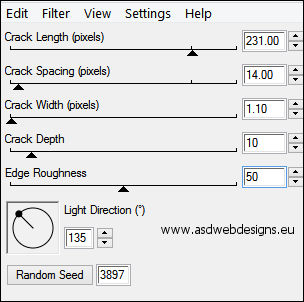
Effects - Plugins -
Xenofex2 - Cracks
Layer
Palette - Set the Blend Mode of this Layer to
"Dissolve"
13
Maximize
Element
"nicole-element" from
tray
Edit - Copy
On your work image:
Edit - Paste As New
Layer
Layer
Palette - Set the Blend Mode of this Layer to
"Dodge"
14
Maximize
Element
"nicole-element-busara" from
tray
Edit - Copy
On your work image:
Edit - Paste As New
Layer
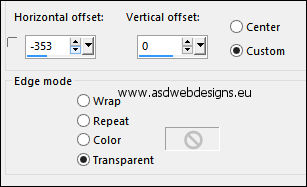
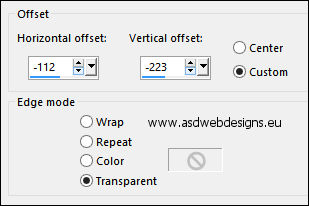
Effects - Image Effects - Offset
15
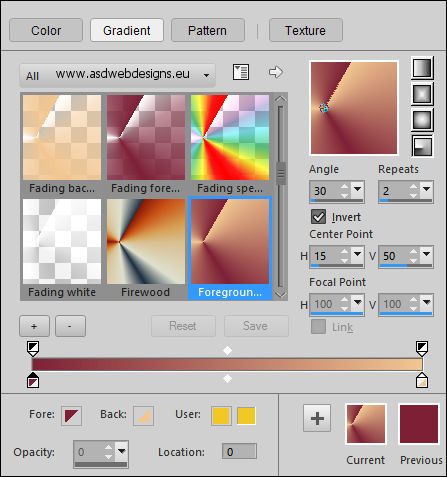
Color Palette: Change the
Foregroundcolor back
to
#7d2136
and to the same
Gradient as before:
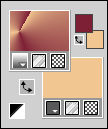
Set your Foregroundcolor to
Foreground/Background Gradient
(Corel_06_029) - Style: Radial
Image - Add Borders - Symmetric
checked - 1 px - #000000 
Image - Add Borders - Symmetric
checked - 30 px - #ffffff 
Magic Wand Tool
 - Mode: Add /Shift
-
Tolerance 15 - Contiguous checked -
Anti Alias Checked -
Click in the last
border
- Mode: Add /Shift
-
Tolerance 15 - Contiguous checked -
Anti Alias Checked -
Click in the last
border
Fill the Selection
with the Gradient 
Effects - Plugins -
Toadies - What Are
You? - X-dose 5 -
Y-dose 5
Effects - Edge Effects
- Enhance More
Selections - Invert
Effects 3D Effects -
Chisel - Color #ffffff
Selections - Select
None
16
Image - Add Borders - Symmetric
checked - 1 px - #000000
Image - Add Borders - Symmetric
checked - 30 px - #ffffff
Magic Wand Tool
 - Mode: Add /Shift -
Tolerance 15 - Contiguous checked -
Anti Alias Checked -
Click in the last
border
- Mode: Add /Shift -
Tolerance 15 - Contiguous checked -
Anti Alias Checked -
Click in the last
border
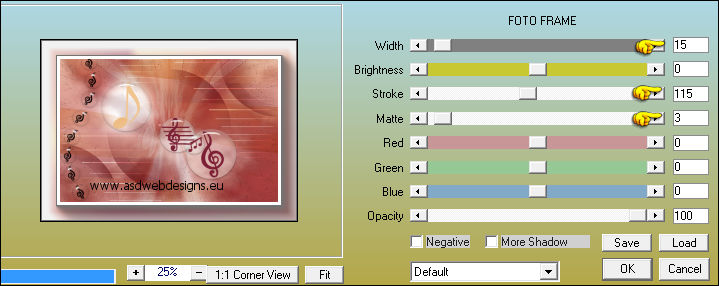
Effects - Plugins -
AAA Frames - Foto
Frame
Selections - Select
None
17
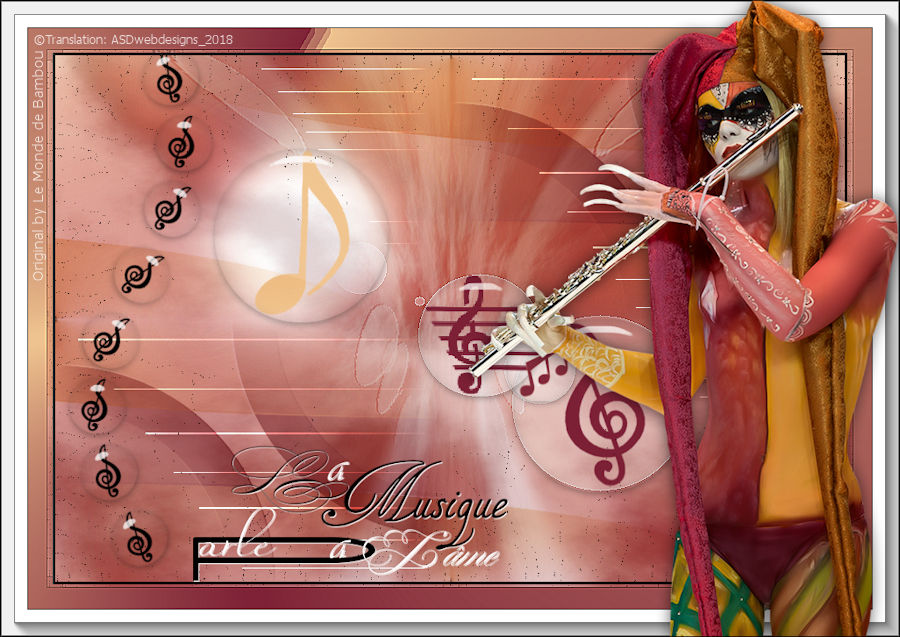
Maximize Tube
"MR_Flûtiste" from
tray
Remove the watermark
Edit - Copy
On your work image:
Edit - Paste As New
Layer
Image - Resize - 95% - Resize
all Layers not checked
Object - Align -
Right
Result:

Effects - 3D Effects - Drop
Shadow - Vertical 0 -
Horizontal 0 - Opacity 60
- Blur 25 - Color #000000
18
Maximize Tube
"busara-texte" from
tray
Edit - Copy
On your work image:
Edit - Paste As New
Layer
Effects - Image
Effects - Offset
19
Image - Add Borders - Symmetric
checked - 1 px - #000000